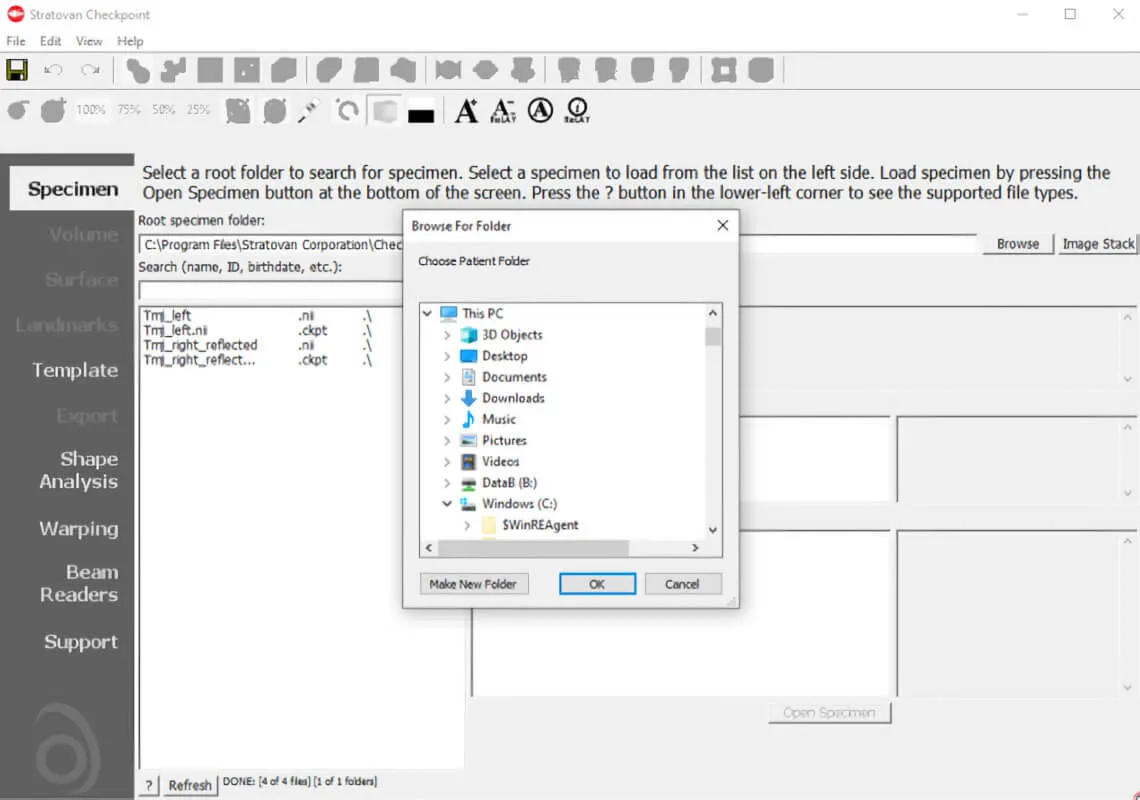
Step 1: Import your Specimen
After opening Checkpoint, you will be brought to the Specimen Option of the menu on your left.
Here, you can find and import your specimen into Checkpoint by clicking Browse.
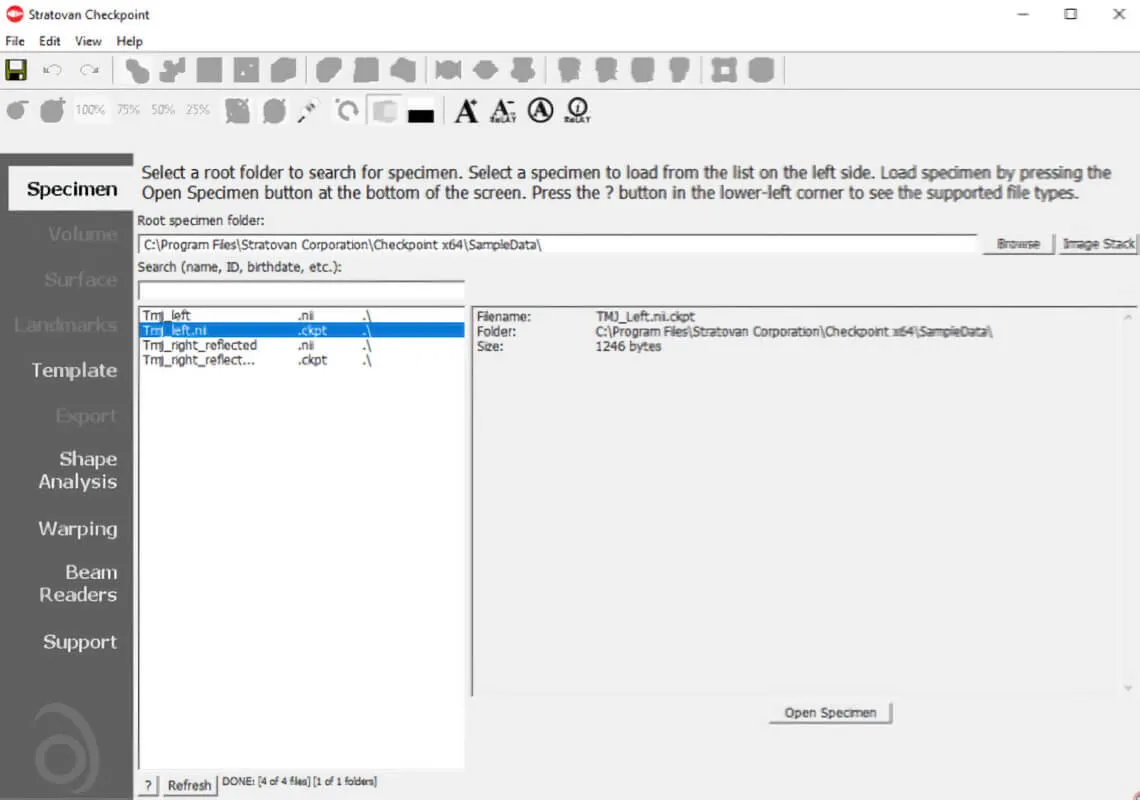
Step 2: Open your Specimen
When the desired files are successfully uploaded, a list on the left white column of the screen will show the available files.
Click one and then Open Specimen.
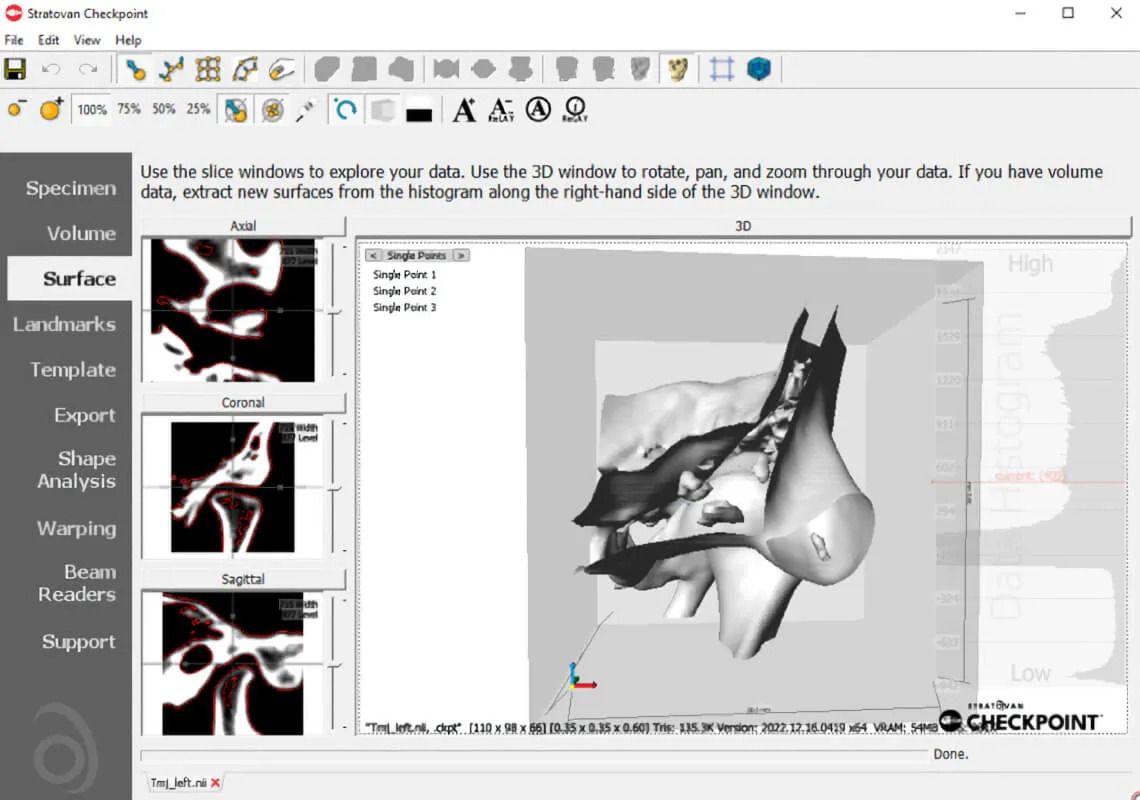
Step 3: View Surface Option
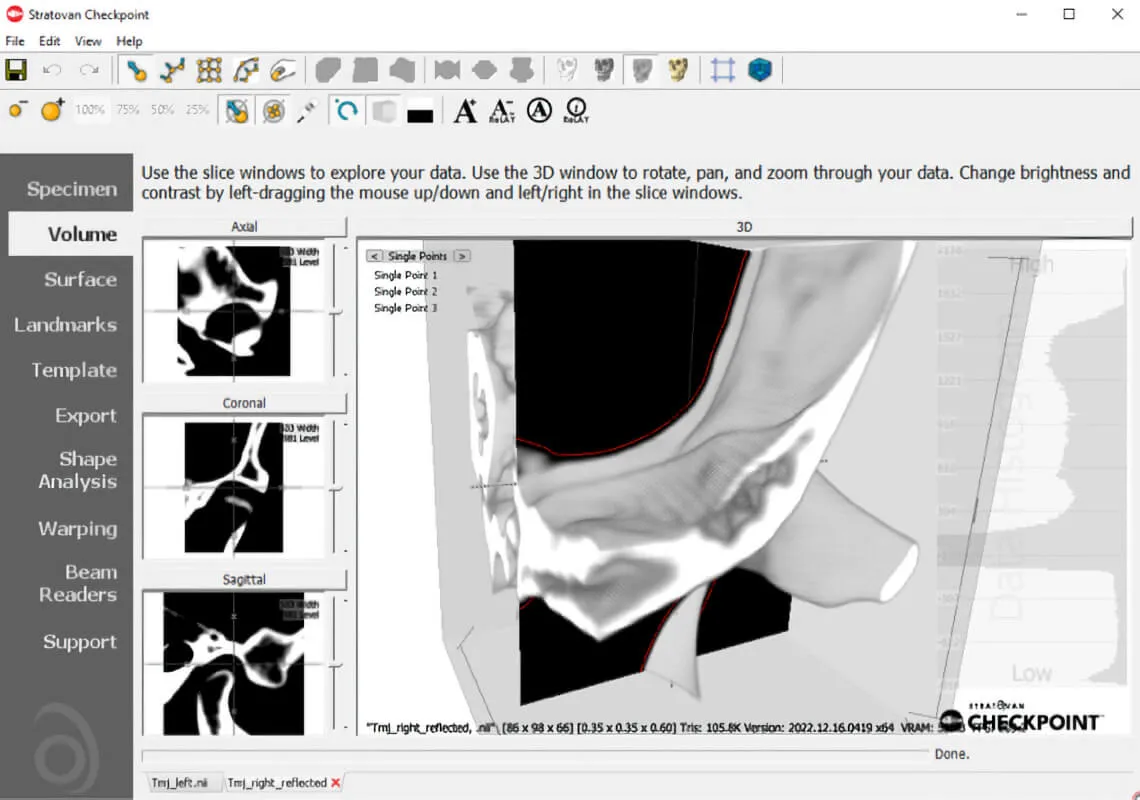
You are automatically brought to the Surface Option where you can see four views.
On the right is your 3D view of the model and on the left, there are the three CT slices axes.
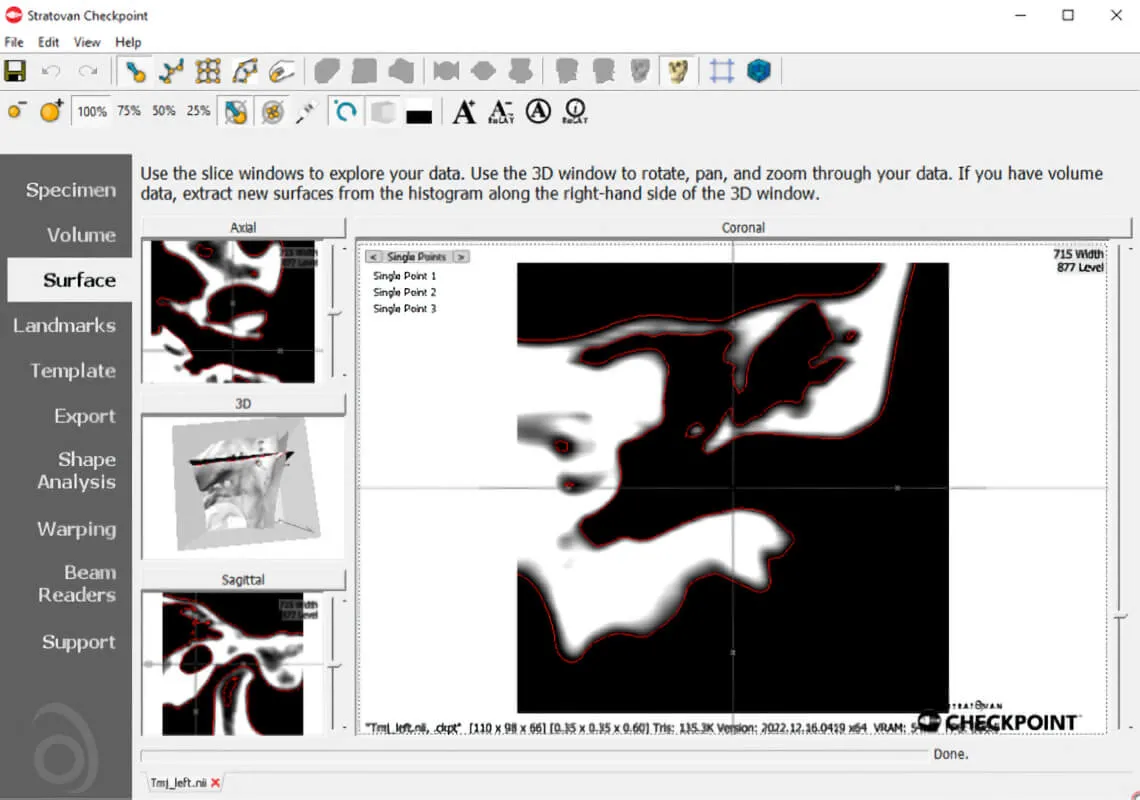
Step 4: Inspect your Specimen
You can rotate the specimen with a left click, zoom in our out by scrolling, and move your model with a right click.
You can also roll through each of the slice views.
Step 5: View Multiple Specimens
If you want to open another specimen simultaneously, go back to Specimen and repeat. It will appear as a new tab on the lower part of your window.